
Simple Fixes - Curtains Edition
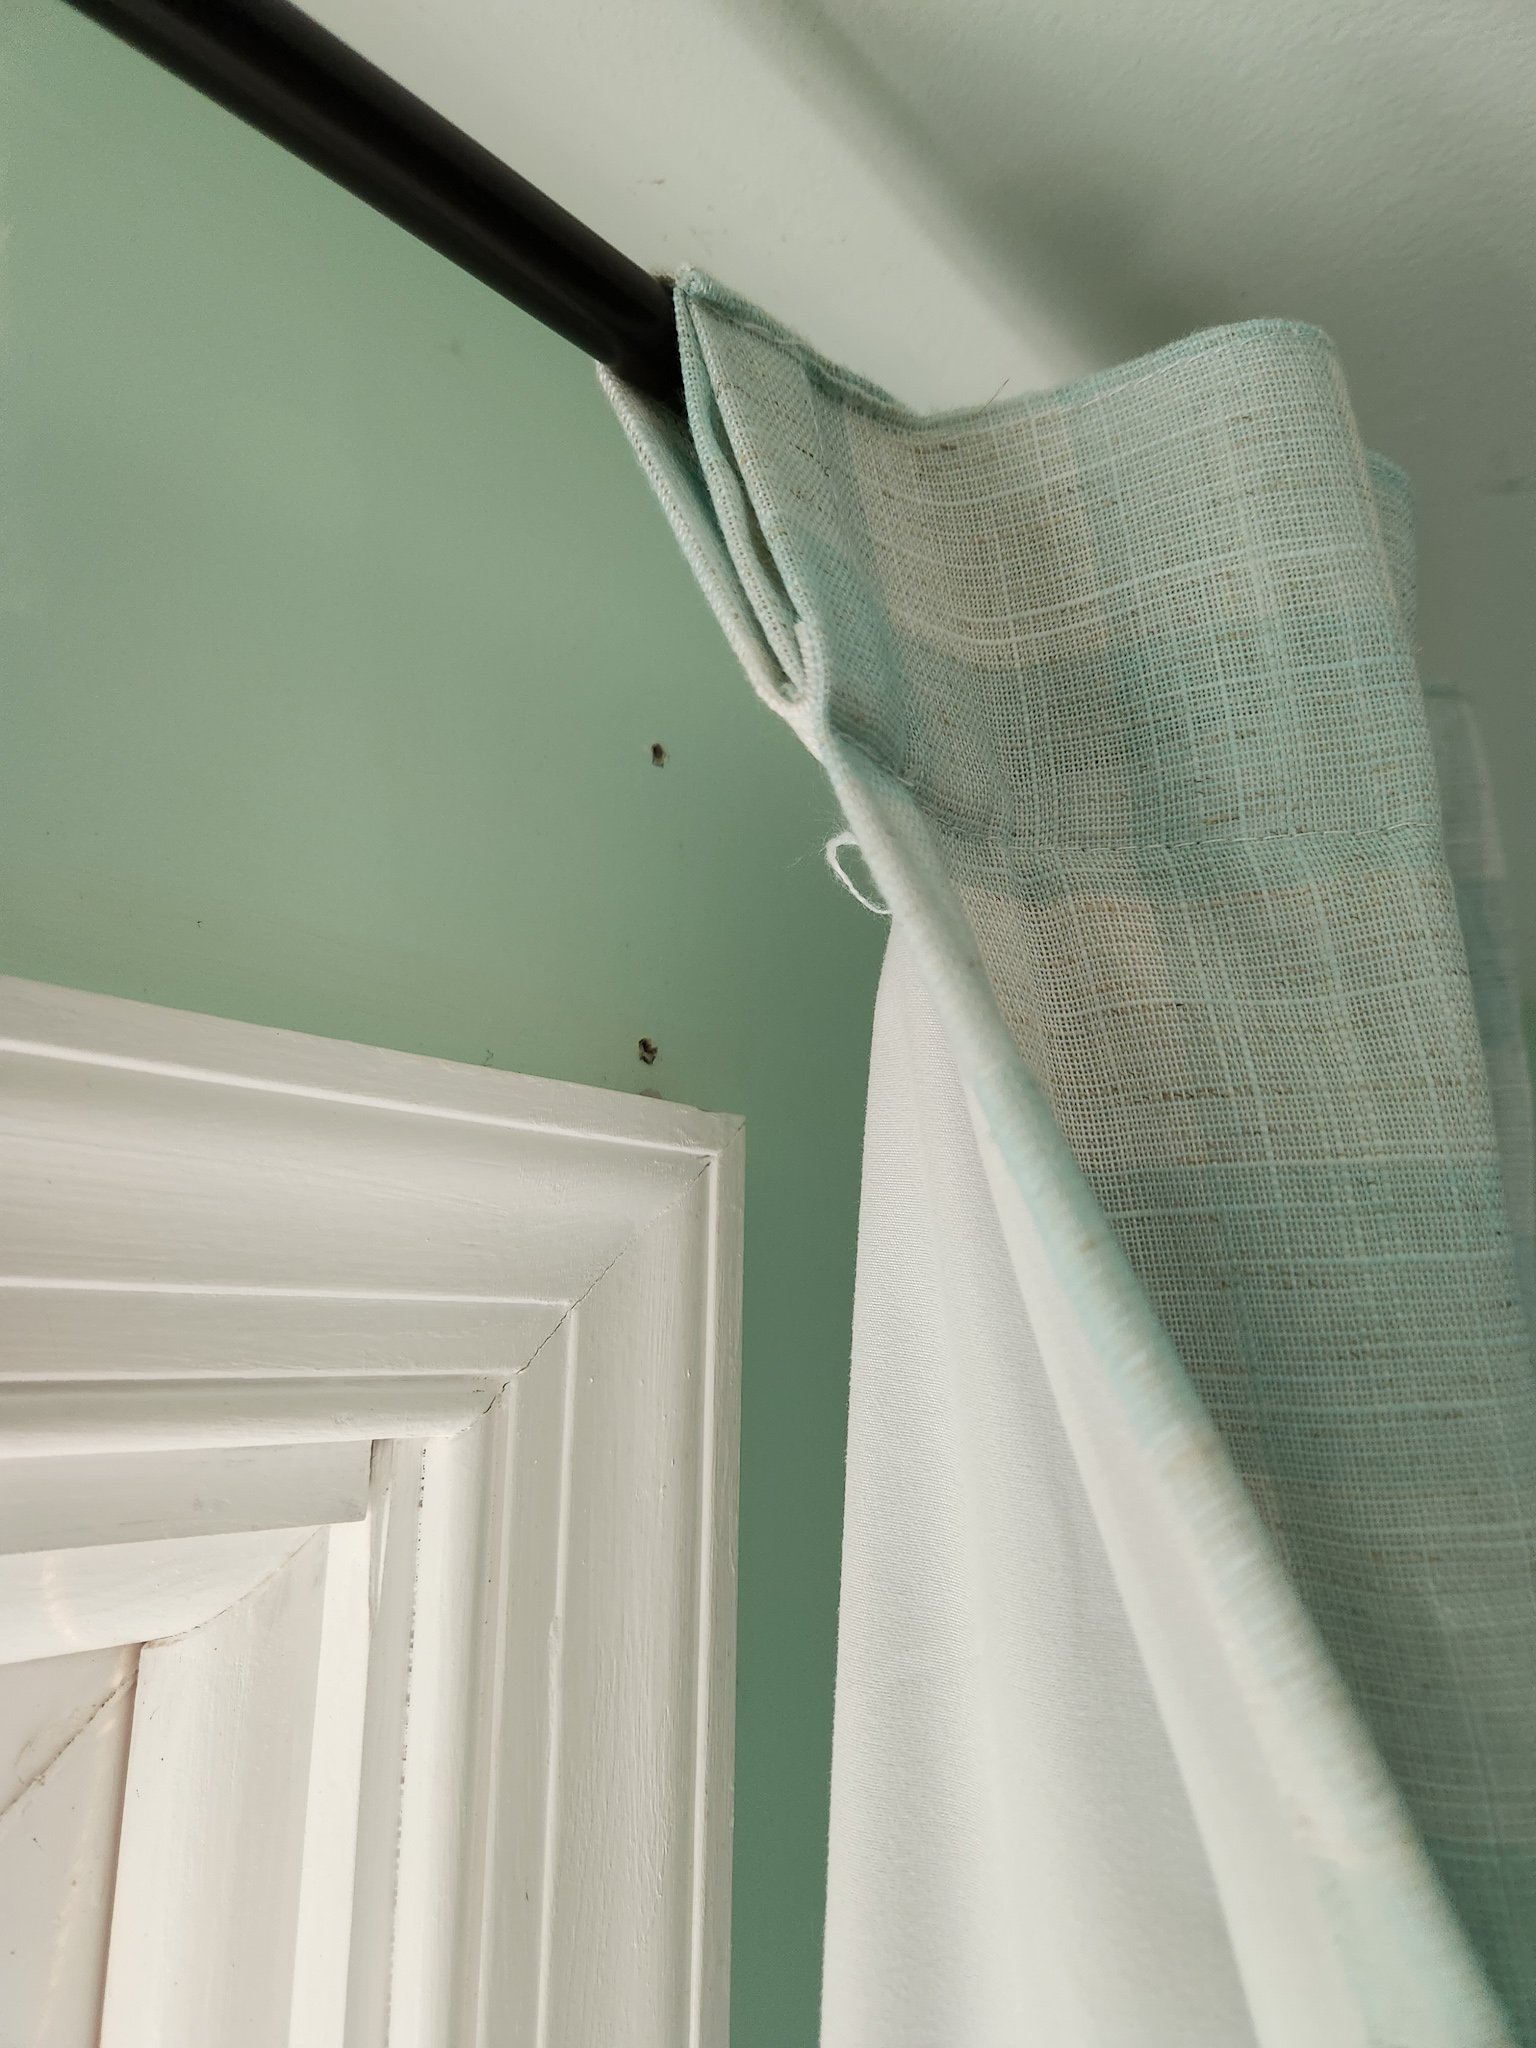
When I first bought my home 13 years ago, I did all the wrong things when it came to window treatments. I installed my curtain rods too close to the windows and not close enough to the ceilings. I didn’t extend the rods far enough past my window frames. I didn’t buy enough curtain panels for each window. Over the years I’ve seen the error of my ways, though in this case it will take a dash of compromise to improve the curtain situation in my daughter’s room. Since the paint has been there for over a decade, any attempts to patch and paint over old hardware holes will lead to mismatched splotches of green on the walls. Not ideal.

So here I’ll focus on what I CAN do. I can liven up the space with brighter curtains in a new pattern. I can swap out my underutilized double curtain rods (that let too much light in around the edges) for French return curtain rods. And I can place the rods as best I can to hide any holes that might result from the switch. The links I’ll be sharing in this post are NOT affiliate links, rather they are examples of the types of products I’ve used to change up the curtain situation in this room.

For blackout curtains, there certainly is a LOT of light coming in around the perimeter. Oops!
If you’re hanging curtains for the first time (or able to actually patch and paint), you can save yourself some window dressing heartache by following a few simple guidelines when installing your curtain rods!

Breaking My Own Rules*
Place your rods closer to the ceiling to elongate the height of the room, make your windows seem larger, and reduce the amount of light coming in above your curtains.
Extend your rods at least 6” on either side of your window. This keeps the curtains from blocking your window when they are open, makes your windows seem larger, and helps reduce light infiltration from the sides of your curtains.
Make sure you have enough width to your fabric! You’ll want some depth where your curtains have room to gather a bit, which means the width of your curtains needs to be larger than the width of your window. Try for about double the width and see how you feel, some fabrics look better with a bit more and some can get away with a bit less.
Go Long! I’m not one for graze-the-floor vibes when it means I have to clean dusty curtain bottoms all the time, so I tend to stop my curtains a couple inches above the floor. Once again, it makes windows seem bigger and ceiling heights feel taller.
It matters how you hang your curtains on the rod. You have choices here! Thread the rod through a rod channel, opt for grommets, or try out drapery clips (the hooks or the clip-on kind) to best suit the look you’re going for.
Rules are made to be broken - there are no hard and fast design rules to be found over here! I myself have a window with a textured, sheer curtain panel that is just barely wider than my window, and it works there! It’s right behind a sofa, and the texture of the fabric provides enough interest to compensate for the lack of fabric gather. Keeping the width of the rod close to the window frame gives me more wall space for hanging the art that I’m falling in love with.
*Gift Bow Painting By Monica Ajenjo @monicajenjo
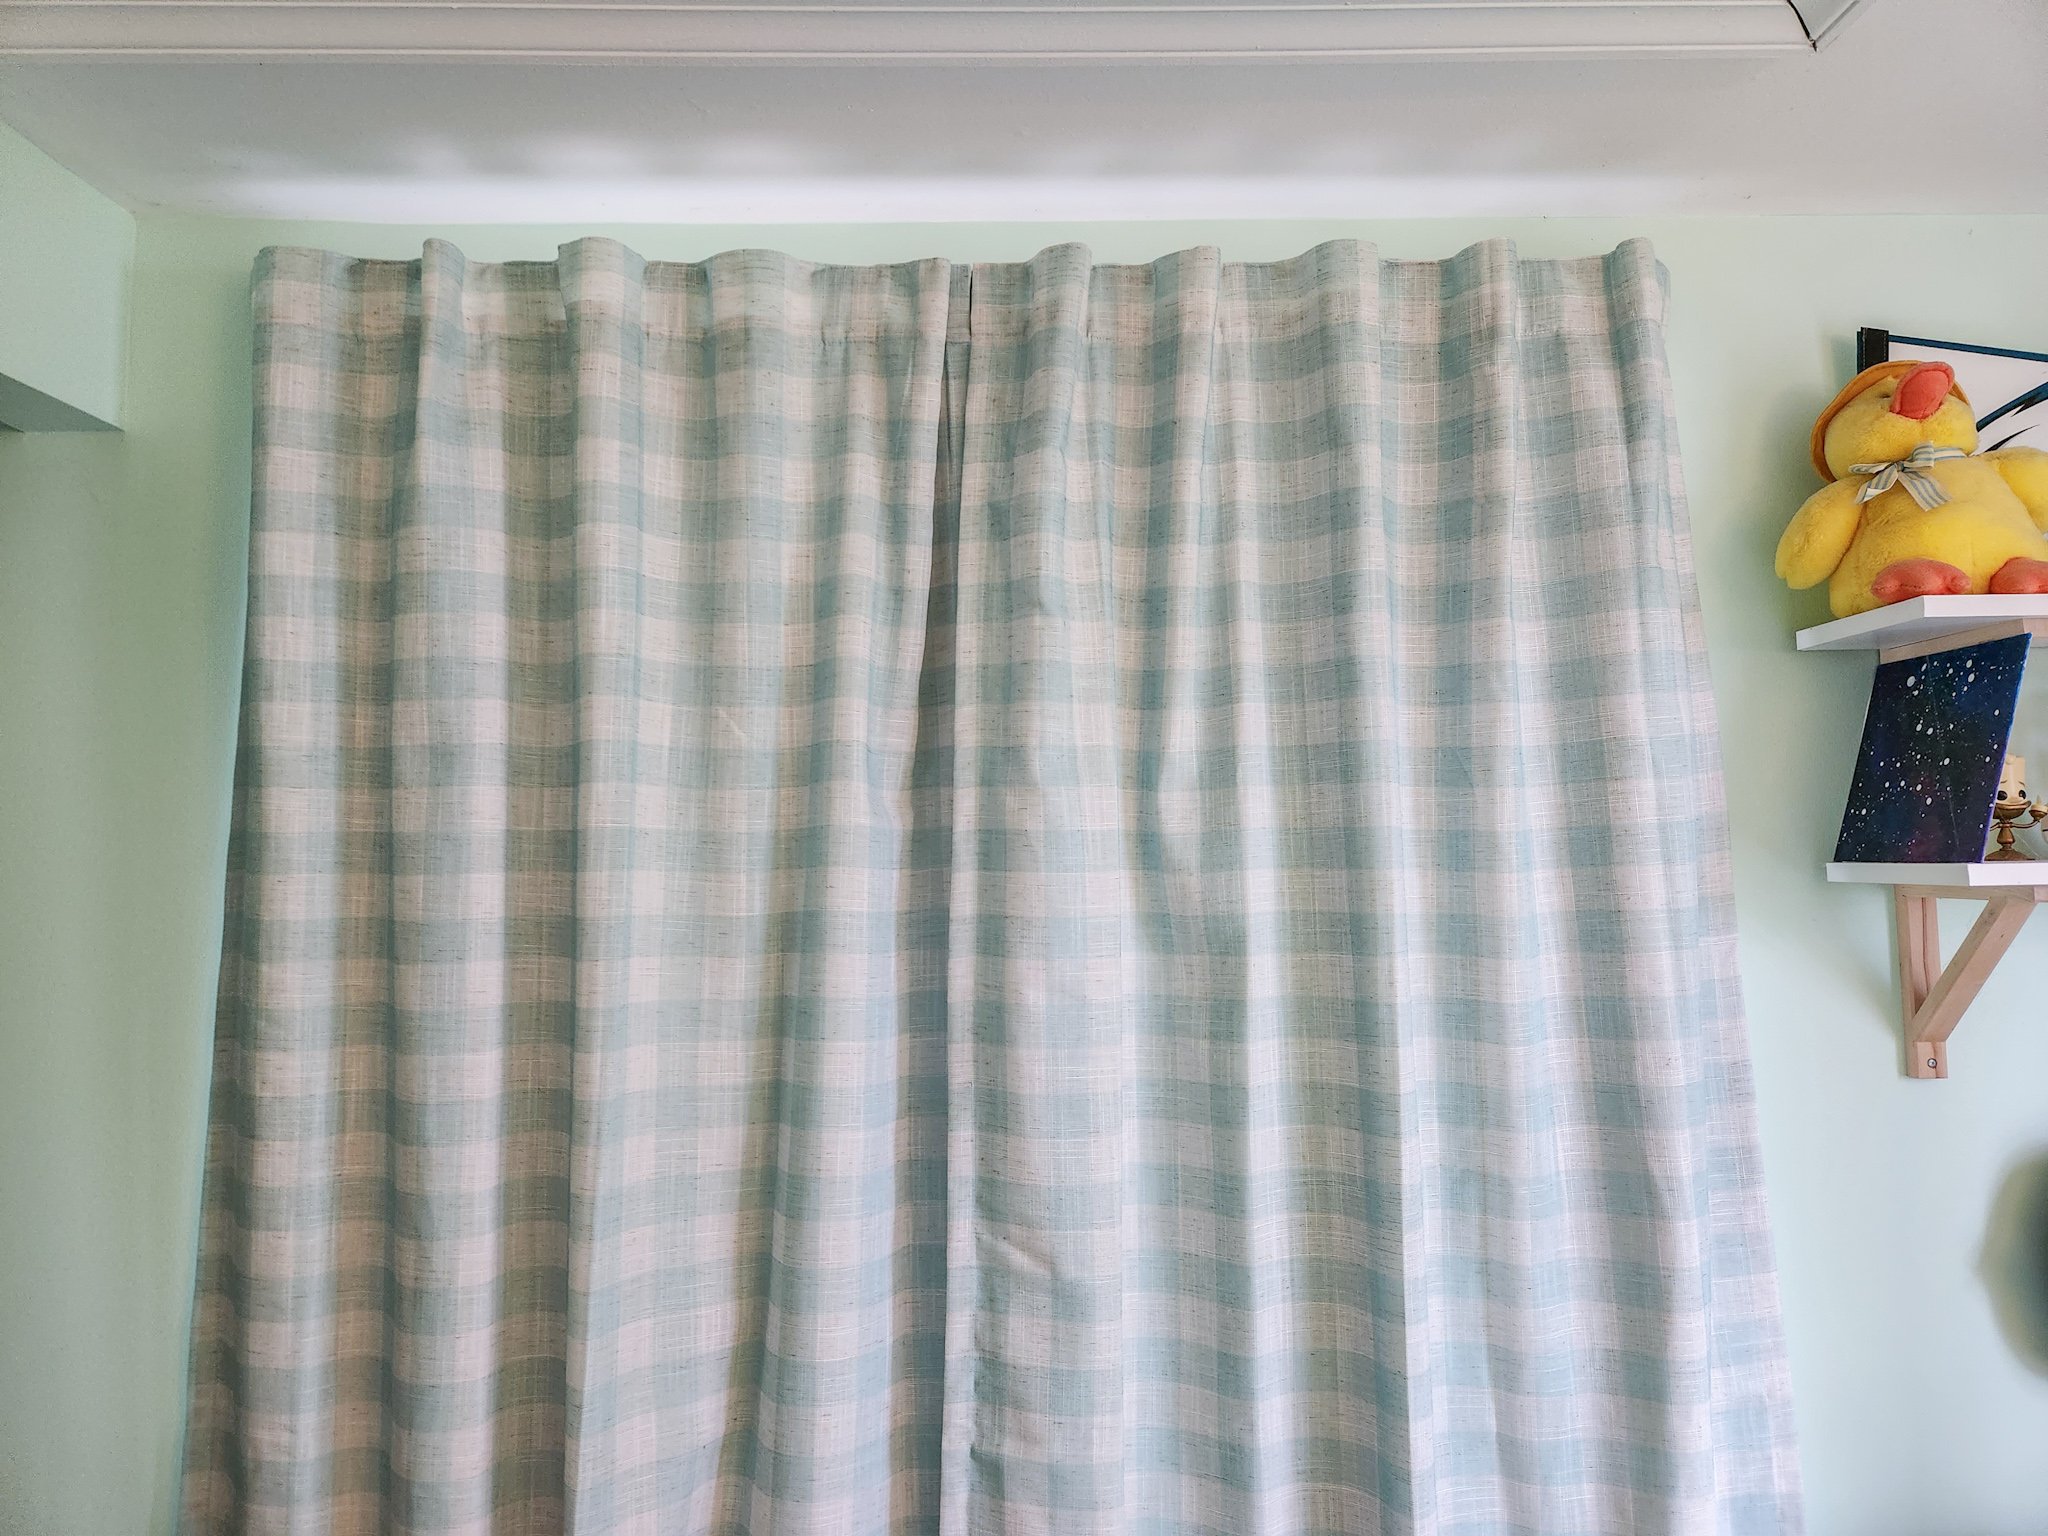
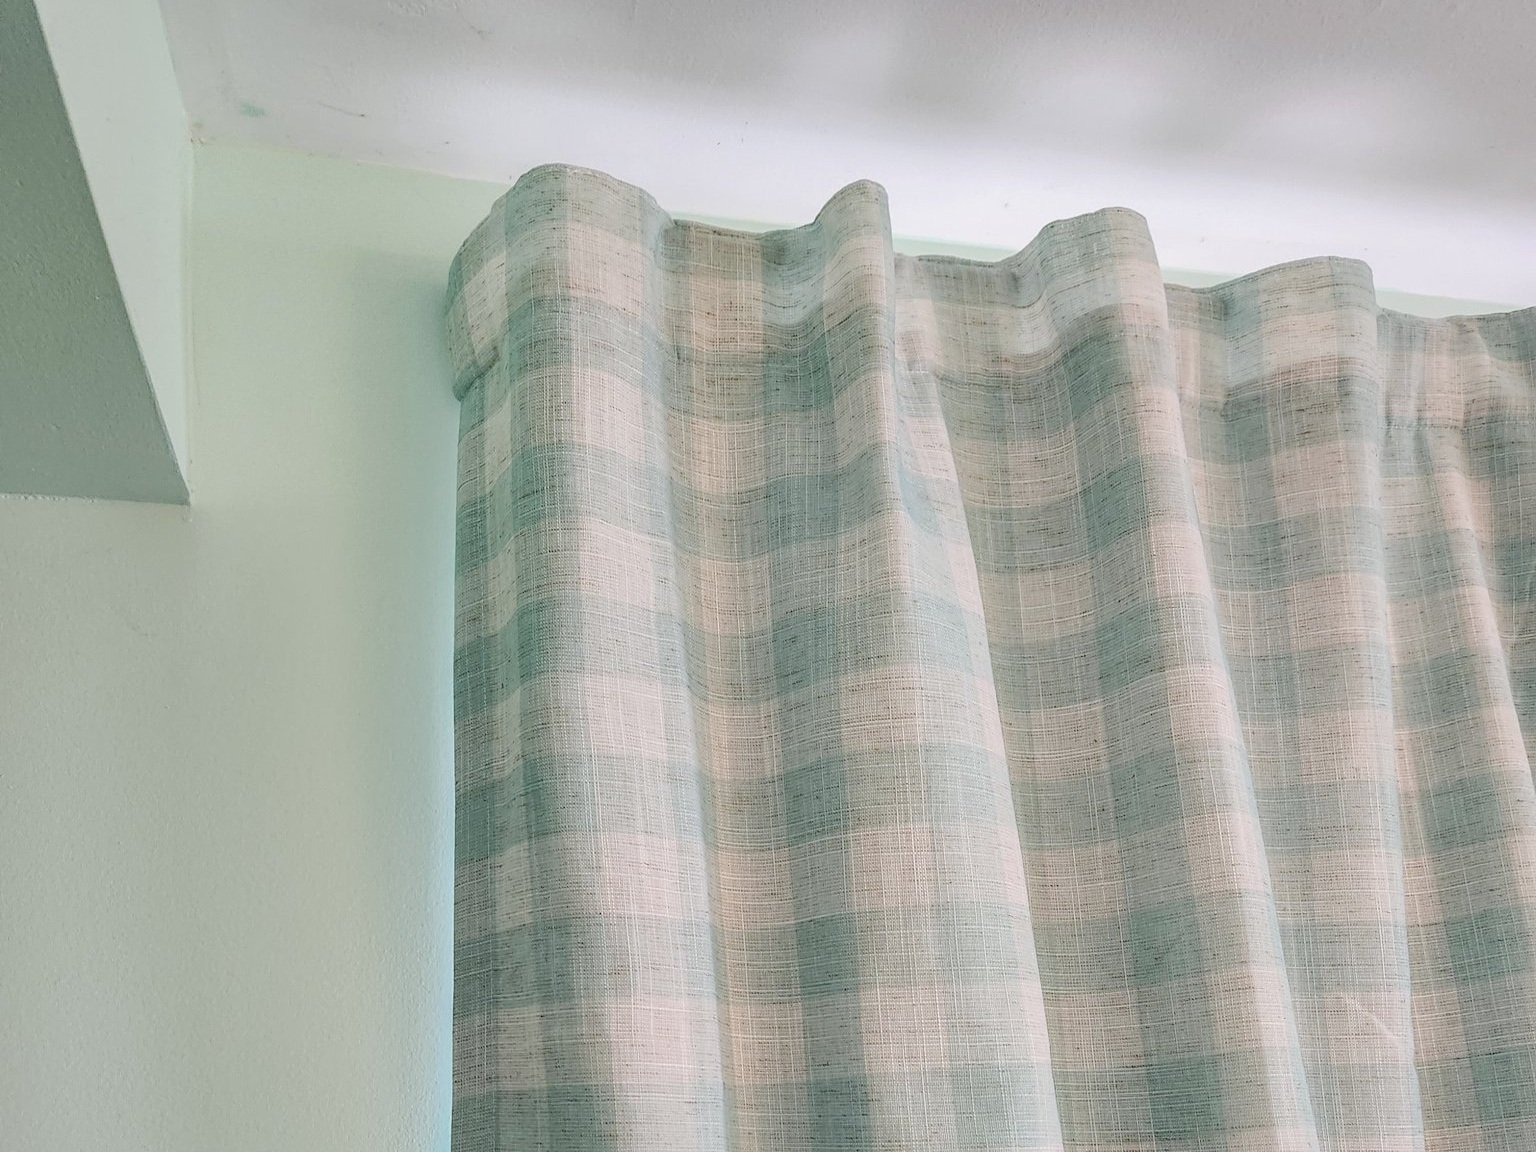

French Return AKA Blackout Curtain Rods
New rod, who dis? This French return rod made SUCH a big difference. It curves back to meet the wall so your curtains can too! The name may sound fancy, but these were a Target find, and were more affordable than I expected. I got these two rods on sale for a total of $32. I’m especially looking forward to sleeping in more on weekends and having fewer arguments at bedtime in the summer when the sun is still out.
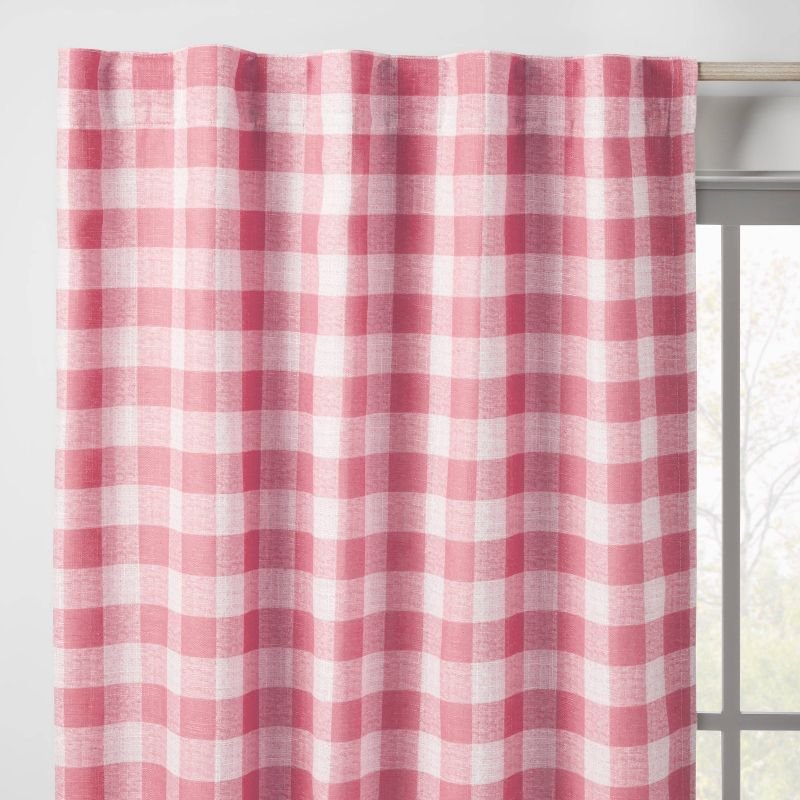
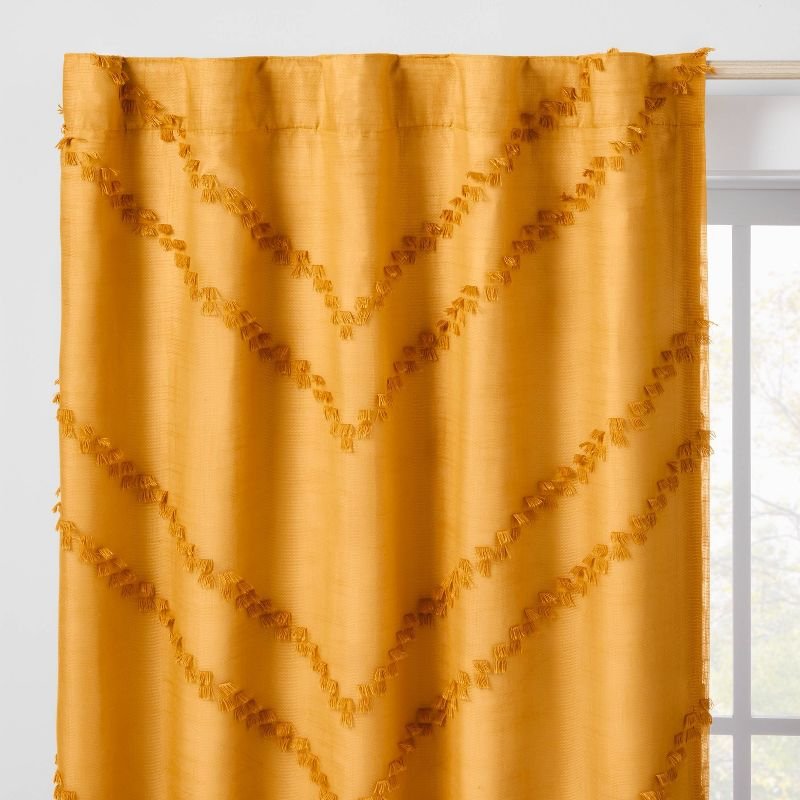
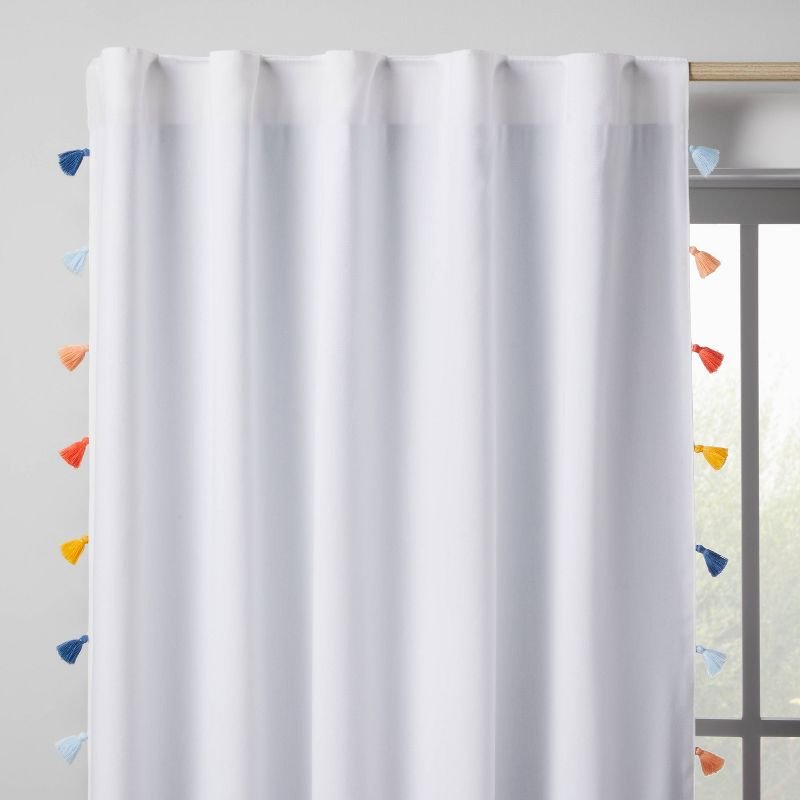
I surprised myself a bit with these curtains. Gingham is not something I usually gravitate toward, and I didn’t expect that this print would be my style. But when I saw these curtains in store, I knew the color would be spot on for creating a perfectly patterned moment in a nice scale against the green walls of my daughter’s room. And since we’re exploring nature with this room, hopefully any picnic vibes will feel right at home with the florals and insects making an appearance. Curtains were 20% off at the time I bought these, so I ended up with 4 panels (two per window) totaling $87.40. So my curtain swap came in at a total of just under $120. I’m not seeing my green color online, but they were the same fabric/style of this pink gingham curtain currently available from Target’s Pillowfort collection. Target has some surprisingly great colors and textures in blackout curtains. And they offer shorter lengths than IKEA’s curtains, which I always have to hem because of my lower ceiling heights.
Now for the nitty gritty. Is this as perfectly polished as it would be if I were painting the room? No. But the curtains and new hardware cover the old holes even when the curtains are open, and the overall look is a vast improvement. Importantly for me, I’m not stressing about it. That’s kind of the whole challenge here. Low Stress, High Impact. It’s becoming a bit of a mantra over here, and I’m pleased to say that my usually perfectionist self is enjoying the shift. While I’m not going to recommend that you all start cutting corners everywhere, I will invite you to try not letting the idea of perfection stand in your way of improvement. I’ve spent so long putting off projects in my home “until I can do them right,” and I’m here to say that it is absolutely worthwhile to do it right enough for now.


Be sure to check out all the other amazing transformations going on over at www.oneroomchallenge.com/orc-blog !
Check out The Glad Suite on Instagram to see behind the scenes of ORC (and other) shenanigans!